The pigs did a great job of banking earth up against the electric fence that ran on the contour line – a beautiful manured bund. This would normally be ok to plant straight into but we had some big mango trees to prune, so with the problem (what to do with two ton of mango prunings) being the solution, we had the mango wood for in-situ materials to make hugelkultur, and our preparation done thanks to the pigs.

Contour bund made by pigs, serendipitously ready to be filled with mango prunings.

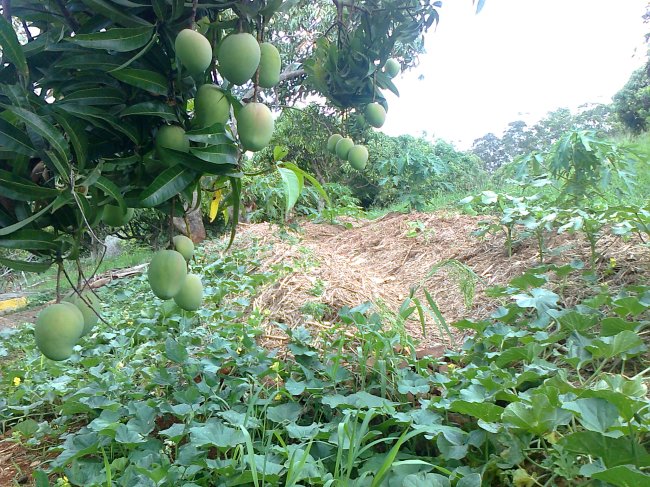
The first bund filled with mango prunings.

The first bund transformed into hugelkultur bed on contour, with soak trench/footpath on upslope. Second bund now being filled.

Second bund being filled over.

Mulched and starting to plant.

Sunrise over the Pacific ocean (click image). Things starting to grow.

The downslope of the hugelbeds are perfect for bush like plants like zucchini etc. After watering them in as seedlings, they get moisture passively from the watering of top of the beds. To my utmost delight, I have found that on the hottest of days they have never wilted, something I have always taken as a given with broad leaved cucurbits.
The contour hugelbeds are designed to passively harvest runoff during rain events, the water is halted in the soak trench and the water soaks into the hugel beds and a lot of the moisture is stored in the bed itself. These beds will continue harvesting water and a freshwater lens will be created under the site, benefiting the landscape in general with water and nutrient flow – particularly the creeks and forest lower down. We have already noted a response in the trees downhill, especially a particularly gaunt avocado. In the spaces between beds, we have planted papaya to take up some of this available moisture. In aggregate, these contour beds act as a main swale.